
We have developed a Browser Widget Integration for Google Chrome, and Microsoft Edge. The Lucen Track Browser widget lets you track time from the tools you are already using and in any other place, wherever you are on the web.
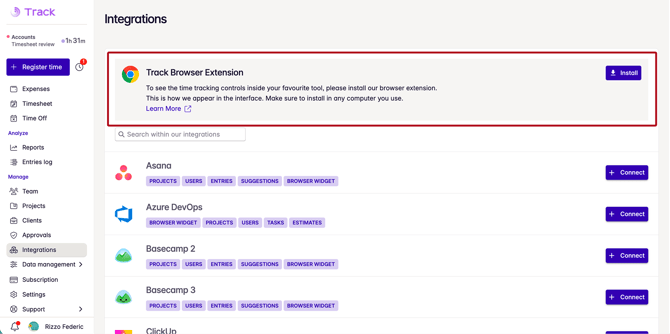
Click here to download and install the Lucen Track Widget for Google Chrome
Click here to download and install the Lucen Track Widget for Edge
The Lucen Track Extension integrates with the following Tools:
To see the complete list of our integrations, you can click here.
What does the Widget do?
Adding the widget to your browser lets you track time wherever you are on the web.
In addition, the widget adds a Lucen Track button in all of the services listed above, so you can track time without switching between apps.
How to install the Lucen Track Extension
-
For Google Chrome: click here to install the Lucen Track Chrome Extension.
-
Click “Add to Chrome.”
-
Click the Lucen Track button next to the address bar on your browser and log in with your Timeneye account.
Easy peasy! Now you'll find a small clock icon inside your favorite web apps and start tracking time without leaving them.
PLEASE NOTE:
Make sure to enable Third-party cookies so that the widget can work inside Chrome
For Microsoft Edge:
-
Click here to install the Lucen Track Widget for Microsoft Edge;
-
Click on the Lucen Track icon on your browser and log in to your account.
Lucen Track Extension Icon
Once you've installed the Lucen Track Chrome Extension, a Lucen Track icon will appear next to your browser's address bar.
This is how the button looks in your browser after you've installed it:
.png?width=670&height=30&name=browser%20widget%20(1).png)
The green badge shows the number of active timers (in this case, one):

Lucen Track Browser Widget Interface
When you click the Lucen Track Widget, a "Register time" window appears.
Here you can register time manually or start a timer, stop timers, and see the list of your time entries where you can copy, edit or delete them.
.png?width=670&height=546&name=widget%20interface%20(1).png)
Timeline VS Cards view
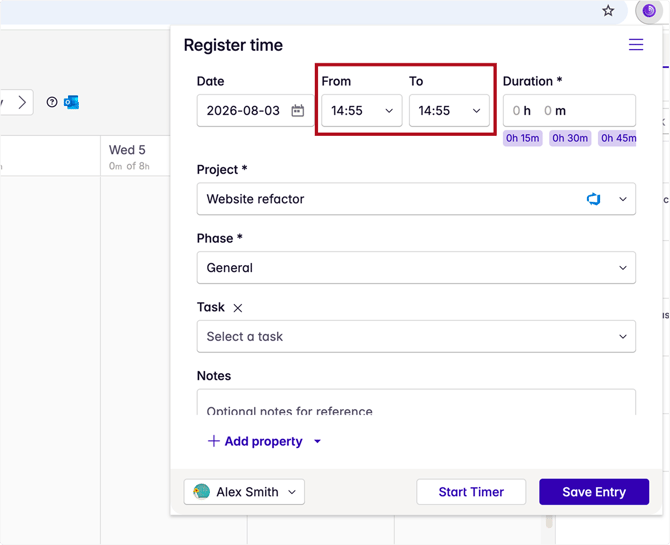
In Lucen Track, you have the option to turn on the Timeline view, which allows you to track time by selecting a "From… to" duration, in addition to the traditional duration-based tracking mode.
When activated in your account, you'll see the "From... to" panel in the widget as well:
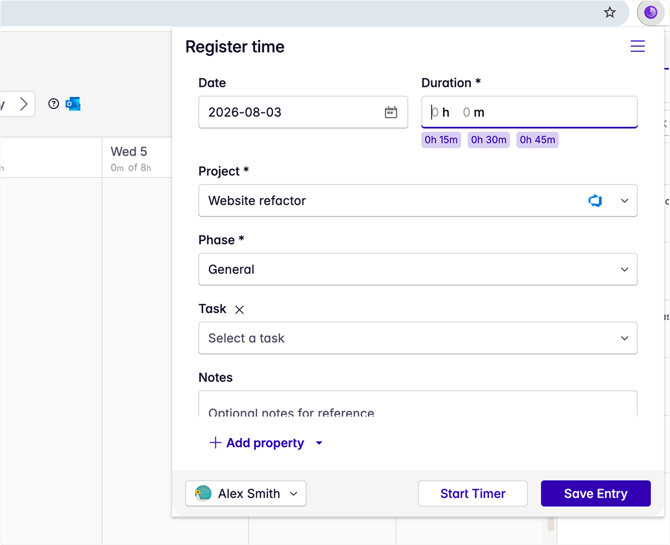
If you decide to turn off the Timeline view, you can continue tracking time using the traditional Cards view. In this mode, you can start timers, manually enter a duration, and save your time entries as usual:
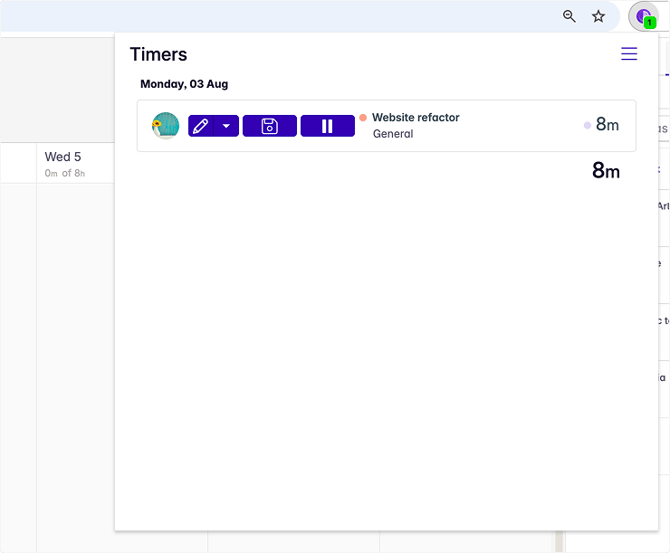
To save an active timer in the Cards view of the widget, click the hamburger menu in the top-right corner. Then, select Timers to display your active timers.
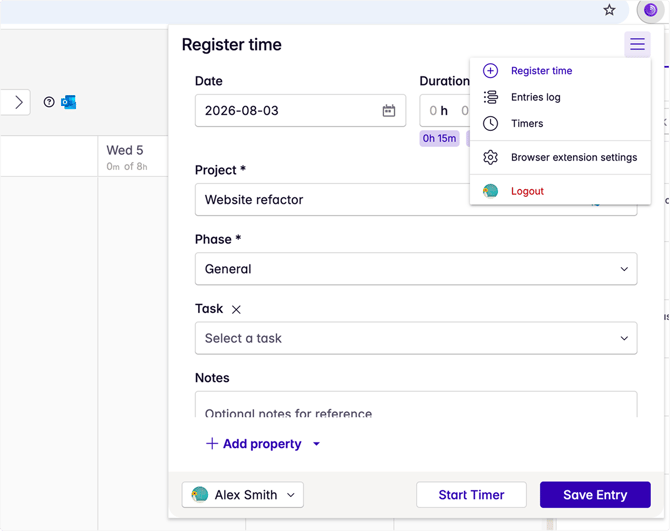
Hover over the timer you want to save, or pause it.
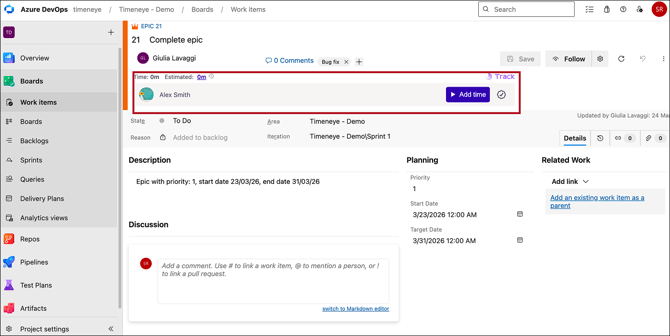
The "Add Time" Button
If the tool you are on integrates with the Lucen Track Browser Widget, you will find a Lucen Track button to track time inside a task or to do:
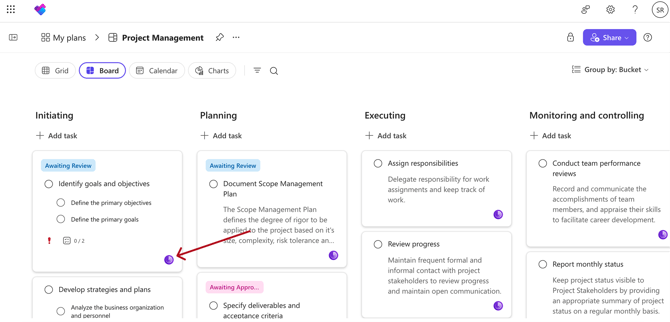
Or a little Lucen Track icon/blue "+" button on the individual tasks:
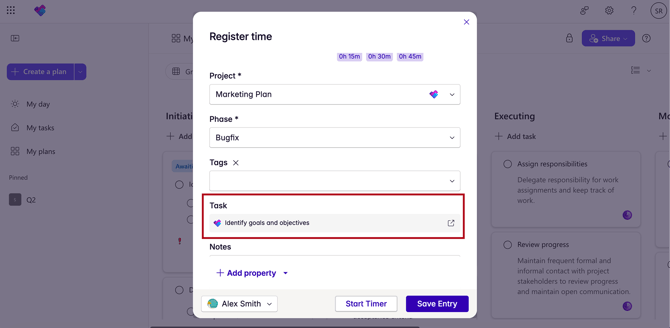
Click the button to track time: if the projects and tasks in the tool are also inside Lucen Track, the system will automatically match them with the ones in Lucen Track. The tasks' name and the tool logo will be added under the "Task" section.
Depending on the tools, the exact location of the “Start timer” icon will be different. It is likely to be within your tasks, cards, or to-dos.
Where can I suggest new integrations?
Please get in touch with us and tell us about the tool you want us to integrate.